Showing posts with label Watercolor Technique. Show all posts

Thursday, November 21, 2013

Watercolor Video Tutorial


I love doing watercolor cards, and could not wait to try out my new stamp set, squeal, since it has been a little while since I did a tutorial, I thought a video would be best to demo watercolors.  Hope this is helpful, and you enjoy it!

Check out my latest video here.


Supplies:
You need good quality water color paper, I really like the kind Stampin Up has because it does not warp when you add water. You can use a brush, but I really like aqua painters as they help me eliminate mess and accidents!  You need a great stamp set, I used Joyful Christmas  (#131805) and of course Stazon ink.  All your classic Ink pads will work with the painter, so any color is available to you!
I also used the Season of Style DSP paper Stack, Gumball Green, Soft Suede, and Cherry Cobbler. I also used Crystal Effects for the flower centers.  Also helpful to have on hand are paper towels, and a hair dryer. -Hair dryer to dry between watercolor layers, and a paper towel to blot the paper if you accidentally put down too much color, and need to lift a tiny bit.  This also works if you go outside the lines and want to fix it if you aren't cutting it out.

Have fun and Happy Stamping!
post signature

Thursday, February 17, 2011

Creative Sketches Week 3 - Watercolor

I adore watercolors!  When I was in college as an illustration major, my media of choice was always watercolors.  I am always happy to spend some time with my trusty aqua painters. The colors of my pictures below are a tad off, so think Tempting Turquoise, Pear Pizzaz, and Poppy Parade.

This is the Happy Together stamp set, which has the most adorable little birds. I painted their bodies with Tempting Turquoise using multiple coats.  I liked that the stazon covered by the ink, just looks like a rich dark blue, and I can still see the details for the feathers.  It is important to let things dry between coats.  I also let everything dry and then did a light wash of pear pizzaz at then end for my ground.  I used my marker tip to color in the beaks and go over the feet so they were peach parfait instead of black.


Saturday, June 19, 2010

Watercolor Tutorial

I recently did a watercolor techniques class and wanted to show a more detailed version of painting the King of the Grill stamp set. I tired to take a shot of each step along the way, but some pictures seem to have been skipped. I'll try and fill in the blanks.

To begin...you need watercolor paper and Stazon Ink. Stamp your image firmly on the watercolor paper. let it dry for a moment or to before you begin. I like using the Stampin Up! Aqua painters, but a paint brush will work if you have a good watercolor set. You need a fine strong point for detail work. Make sure it is designed for watercolor painting if you go this route. A good brush can easily run 10-20. By comparison the Aqua painters are a steal!

Step 1. Begin by using your lightest background color.  I used Bashful Blue here.  Go around the items carefully.  You can do multiple light coats to build up the background so don't try and get all the color on at once.    After you like the lightness in the background, begin adding some shadows to your sky.  Mostly around the wheels and grill base in this image.  I used Tempting Turquoise as my next color.  In between each coat or light wash of color, hit the image with a hair dryer or heat tool.  this prevents the colors from looking muddy and bleeding together.

Also do a quick wash in the smoke to give it some color.  I looked at this as smoke or dust cloud, but either way it should be lighter than the sky.


Step 2.
Same concept here for the ground.  I went in with old olive here along the horizon line.  I took a few passes at it to get the intensity of color that I wanted.  (On my second card I also used a little soft suede right at the smoke line to give a little color to the dirt.)

Step 3.
I started with light washes of soft suede on the handle, bottles, and shoes. I did Real rust for the meat, with a hint of soft suede to tone it down a bit. I also did a wash of Night of Navy on his jeans.  Keep in mind where you highlights will be and try not to get the jeans to dark to give the illusion of depth.

Step 4.
Start the grill with a wash of Bashful Blue or Tempting Turquoise.  A Silver grill will show show reflection of color from the sky so will not really be straight grey.  Give it some blue to give that reality of color.  This is the hardest part I think.  Make several passes, using the hair dryer between each one. The stamp has provided line showing where your shadows are, so work with those.  they will be your darkest sections.  Also base the wheels in Night of Navy.  You can add some more detail to your shadows in the smoke if desired.
Step 5.
Sorry, this one is a bit blurry.  Continue with Night of Navy on the grill using washes to give the illusion of metal.  Use a last pale wash of Basic Black on the wheel and in the shadows.  this will keep it from being a blue grill.  You could used Basic gray too though.  I used more Night of Navy in this card though.  my second card is a darker grill.  it is your choice.

Face and Hands are great with Blush Blossom.  I also used a spot of Pretty in Pink to give a rosy blush on the cheeks and around the knuckles.  I used chocolate chip on the hair. and a So Saffron for the shirt with Crushed Curry shadows  My shadows were under the color.

Step 6.
So this was my finished stamp on my first version.  At my Dad & grad card class, I did another one, which I like better.  That is the second image.

Card #2-Darker Grill and different shirt color- Pumpkin Pie.


So if you have any questions, shoot me an email! Hope this helps!!

Wednesday, May 19, 2010

Grad Gift Card


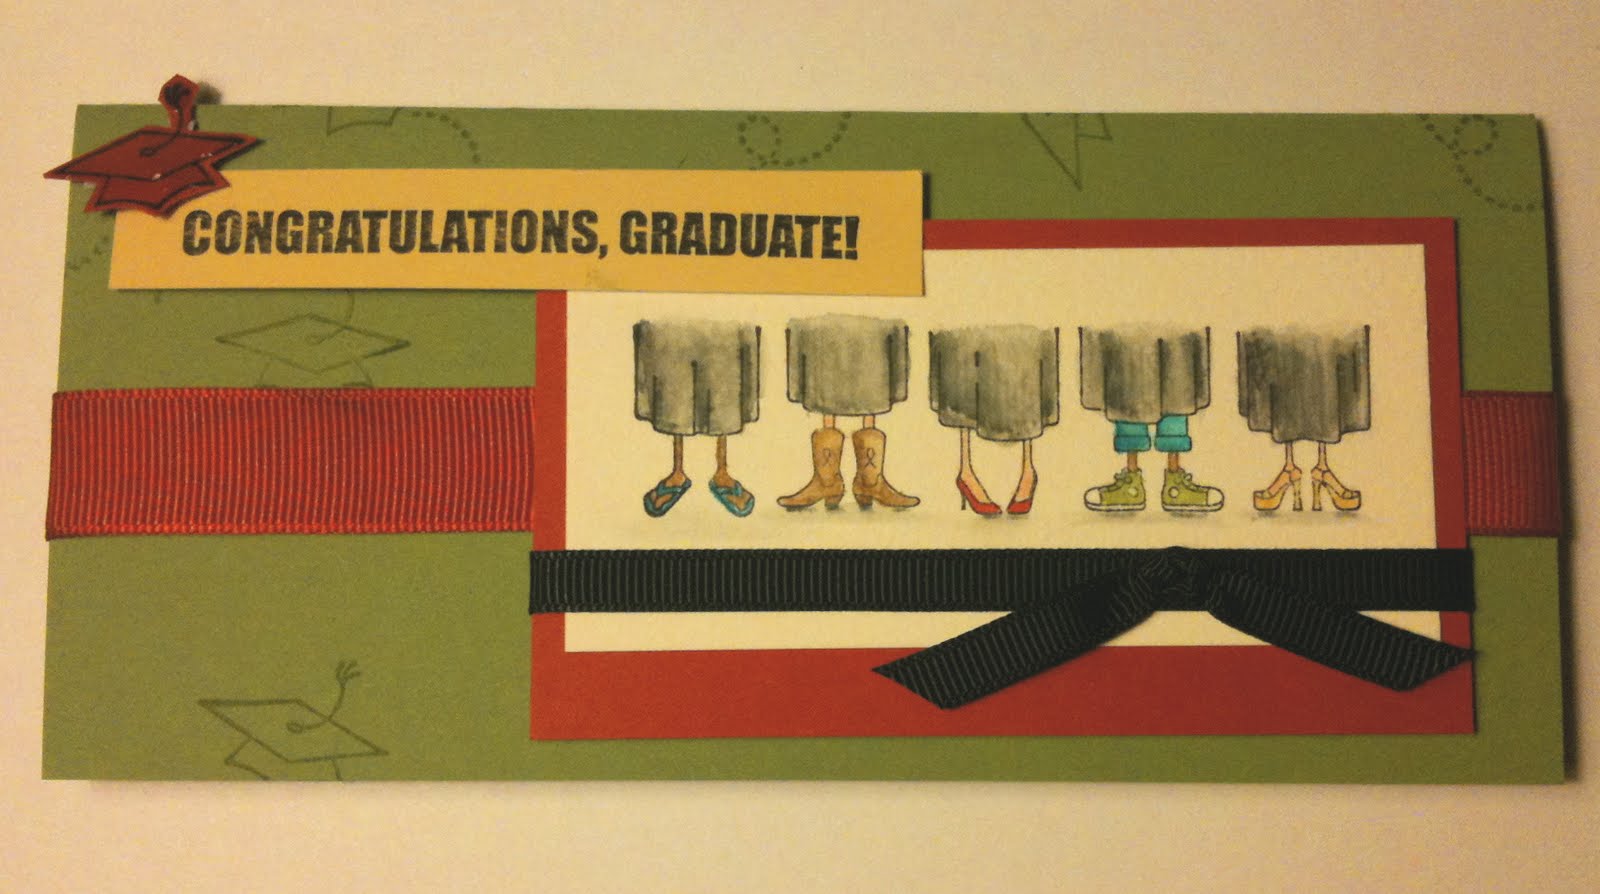
I started worked on a stash of Graduate gift cards for my graduating nieces and nephews this year. I was excited to see the Go Graduate Stamp Set in the Summer Mini Catalog! I wanted to make something that could work well for cash or a check since I never know what they will really need for a graduation gift and like sending something mailable in an envelope!

I used my ink pads as watercolor palettes and a brush to paint in the feet stamp. It took a little time since you need to make sure each touching section is dry before you paint with it or the colors will run into one another. Doing gowns, then shoes, then legs works well for that purpose.

I used the layout challenge from the Stampin 411 Blog and the watercolor technique from the Just Add Ink Blog Hop. I really like the tutorial for watercolors for Just Add Ink. I went to art school and majored in illustration, but never really thought about using some of my watercolor skills directly in stamping. It was absolutely the right technique for this stamp set! This was a great reminder about how much fun that can be, as well a fantastic set of instructions for anyone who has never attempted watercolors. The watercolor paper by SU is great, but Stazon is a must for this!
Related Posts with Thumbnails