Showing posts with label template. Show all posts

Monday, August 25, 2014

Create a Project Life MDS Page Template


So far the only thing that I am at all bummed about is with my digital version of the Project Life kits is that I don't have the nifty plastic page pages as a digital template, so I decided to make one.  I went to my trusty friend Pintrest, and found some great Project Life inspiration, and created a spread.  I noticed that most plastic pages seem to take up the whole page, and my first few attempts at making a page fit didn't work because I was trying to squish them into the bleed margins of a 12x12 page.  New plan...Ignore the bleed lines.  That isn't to say I put important stuff there, but I planned on using the whole space with imagery.

So... I created a photo layout page for myself using the Add Photo Box feature, and then editing the size.  I used 4 boxes that were 3.9x5.86, but if you want no gaps, just use the 4x6.  Those went on each corner.  Then in my center colomn, I placed 4 more boxes that were 3.86x2.9.  Again, 4x3 would work.  I moved and aligned until everything was just as I wanted it. Then I selected everything and went to File>Save as Page Photo Layout, so I don't have to do this next time.  Now, when I work, I can use the Photo template again and again.  Yeah!


Did you know that you can drag an embellishment into a photo box?  Well, you can!  Woot Woot! Go to your Add Embellishment tab, Choose the Project Life one you want, Under >Designer Kits, and go from there.

You can also rotate them too when you place them if you need them to go the other direction.  And if you dislike the one you chose, delete it and the photo box wipes back to grey and you start over.

So go through, select your happy little embellishments and photos and finish out the page.  Easy Peasy!

I added a background paper in Gumball Green, and recolored a burlap ribbon to match and used a stamp from the School DaysII set. I added journaling in the yellow box, but removed it to take this picture for privacy reasons.

What do you think?  I'd love to see some other Project Life Templates you come up with using this method so please email me, or comment below so I can check it out!

Saturday, January 22, 2011

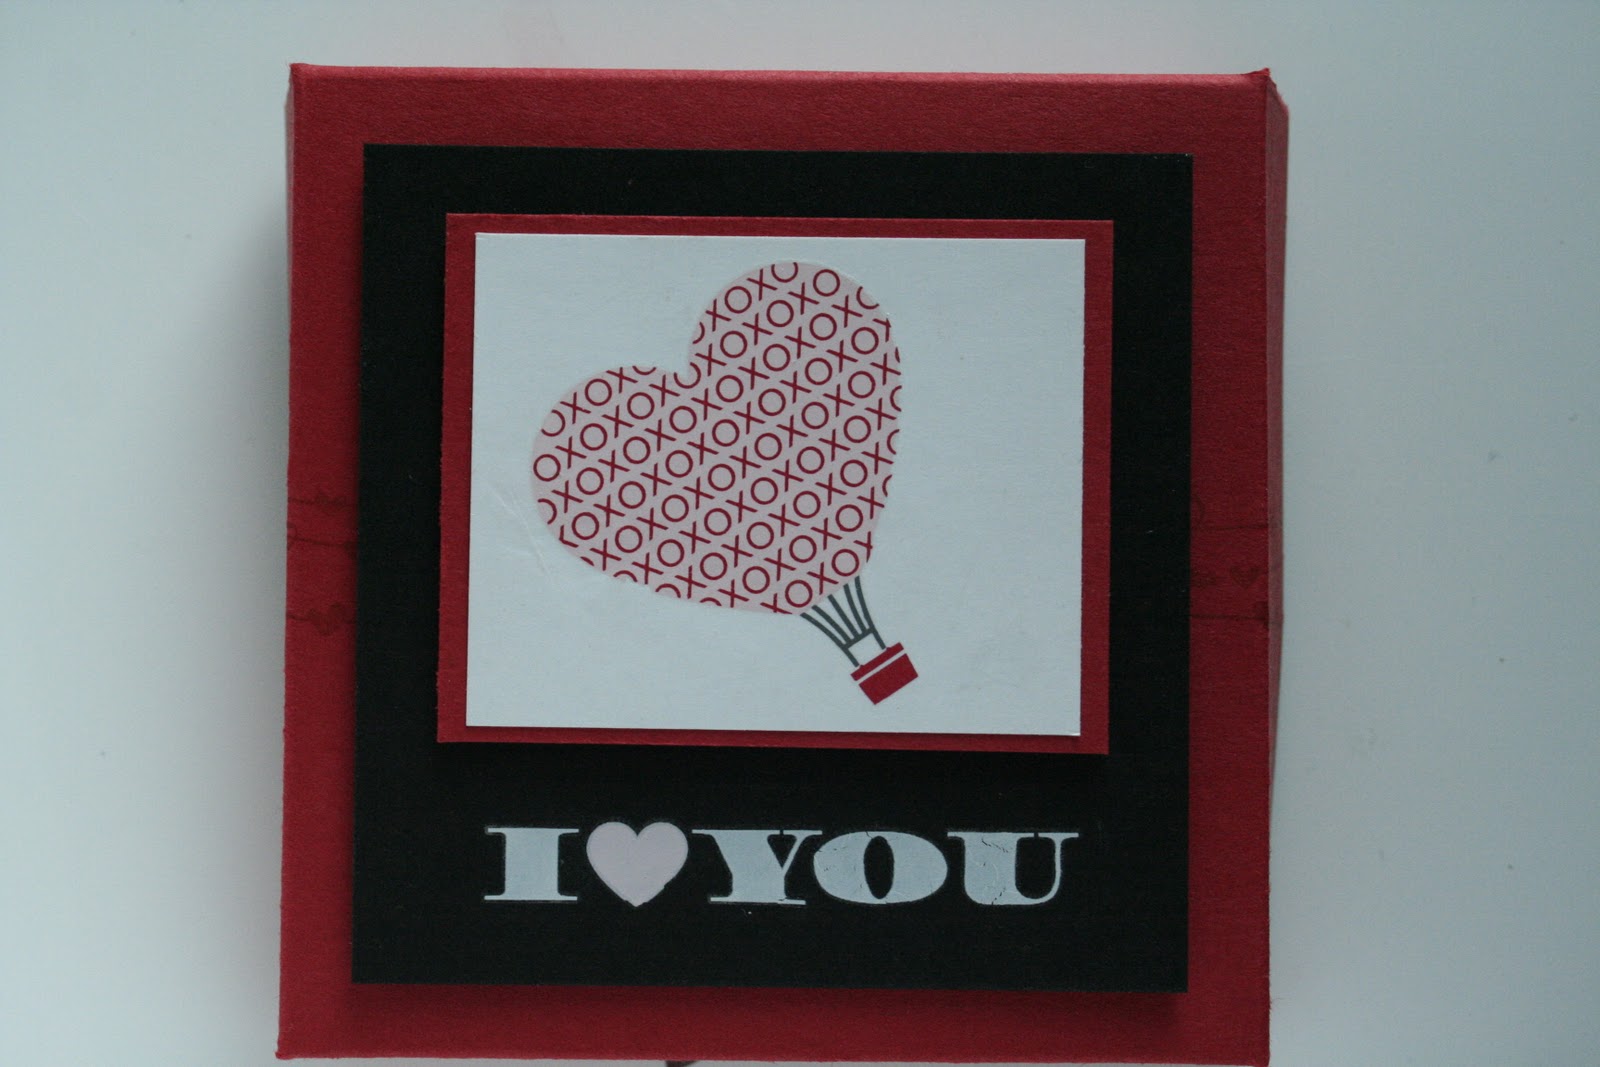
3x3 Pizza Box - Free Template


This adorable little box is made from a half sheet of cardstock, scored, folded, decorated, assembled, then finally glued! I used Valentine defined again from the Occasion Mini Catalog.  This little box will be part of my Love Sweet Love Class, which will be available as an online class/kit for purchase. I will send you all the supplies and instructions to make the 2 cards and the pizza box for $8 (Includes shipping).  I'll have a list of additional supplies which can be purchased though my website.  (stamps et, blocks, ink, etc)

I do love my heart punches, and had to bring back the coordinating stamp from my Love you Much set.  My next project is going to dust of the entire set and bring back my favorite little mouse, but in the mean time, it fits perfectly in my punch! 

I still say when in doubt, labels make the best Nugget wrappers.  Designer Series paper is always adorable, but in a hurry, stamp and wrap!  I made a simple divider to keep the chocolate in place, but when you are done, the box can be reused to hold your 3x3 note cards.

I have included the template to make this little guy, but you can also watch an awesome video by fellow Demonstrator Mike Funke, and he also has a handy mathematical formula for figuring out how to make the box at any size. (On a side note, I met him last year at Convention -.  Really great guy, and always fun to meet a guy demonstrator!)

I made a second box last night using a set of Free Rub Ons that Stampin Up gave all the demonstrators. With that box I included a set of 3 note cards.
I love the Red tree with the Crystal Effect Hearts.  I think it really makes the card pop!

If you would like to order a box & set of cards for yourself, it is also $8 plus shipping.

This template has instruction for a 3x3 box.  Check out Mike's blog to get the formula to enlarge the box.  Happy Stamping! I also have submitted it to the handstampedsentiments blog challenge.

Related Posts with Thumbnails