Showing posts with label scrapbooking. Show all posts

Monday, August 25, 2014

Create a Project Life MDS Page Template


So far the only thing that I am at all bummed about is with my digital version of the Project Life kits is that I don't have the nifty plastic page pages as a digital template, so I decided to make one.  I went to my trusty friend Pintrest, and found some great Project Life inspiration, and created a spread.  I noticed that most plastic pages seem to take up the whole page, and my first few attempts at making a page fit didn't work because I was trying to squish them into the bleed margins of a 12x12 page.  New plan...Ignore the bleed lines.  That isn't to say I put important stuff there, but I planned on using the whole space with imagery.

So... I created a photo layout page for myself using the Add Photo Box feature, and then editing the size.  I used 4 boxes that were 3.9x5.86, but if you want no gaps, just use the 4x6.  Those went on each corner.  Then in my center colomn, I placed 4 more boxes that were 3.86x2.9.  Again, 4x3 would work.  I moved and aligned until everything was just as I wanted it. Then I selected everything and went to File>Save as Page Photo Layout, so I don't have to do this next time.  Now, when I work, I can use the Photo template again and again.  Yeah!


Did you know that you can drag an embellishment into a photo box?  Well, you can!  Woot Woot! Go to your Add Embellishment tab, Choose the Project Life one you want, Under >Designer Kits, and go from there.

You can also rotate them too when you place them if you need them to go the other direction.  And if you dislike the one you chose, delete it and the photo box wipes back to grey and you start over.

So go through, select your happy little embellishments and photos and finish out the page.  Easy Peasy!

I added a background paper in Gumball Green, and recolored a burlap ribbon to match and used a stamp from the School DaysII set. I added journaling in the yellow box, but removed it to take this picture for privacy reasons.

What do you think?  I'd love to see some other Project Life Templates you come up with using this method so please email me, or comment below so I can check it out!

Wednesday, August 6, 2014

MDS Project Life by Stampin' Up!

Stampin' Up! started working with Becky Higgins Project Life this year and I had to try out the new My Digital Studio Playground download for Project Lifeby Stampin' Up!.  I looked at some Project Life sample scrapbook pages to get a few ideas of layouts since I am fairly new to Project Life, and discovered I was easily able to modify some photo layouts in MDS to fit the sizes of the new embellishments.  I did not find a premade template under the other designer pages when you start a new document, which is why I put my own together.  I am working on these for my sister, and love how easy they were to pull together. 

Just a quick tip, I found the Project Life items under Designer Kits>Embellishments, and under the Designer Kits in the Stamp category as well.  They did not pop up as a new heading like "Round Buttons" which I had expected.

One of my favorite parts was that I could resize the size of the stamp sets so that it could work as a title, or little header.  I also love that it coordinates with our SU colors so I can pull in other things with MDS to make it all work together and keep it fresh and fun.  More pages will be coming soon asI have barely begun to play with my new download!


Monday, November 18, 2013

Recently Completed Scrapbook Pages


As I mentioned earlier I have finally finished putting together my 2011 scrapbook.  Here are a few of my favorite pages.  I really enjoy working off the photo layout mode, then tweaking the layouts as my pages allow.   I love that I can scale a group now in MDS2, such an improvement.

Saturday, November 5, 2011

Fall themed workhop

I'm doing a workshop today with my friend Brenda, and she chose a fall theme for the Holidays with a scrapbook/home decor project.


I created this adorable page that can be used a framed art, or put in a scrapbook. I had so
Much fun with my Simply Score Tool! It makes creating these little flower embellishments so easy.


I am also showing how to make simple stocking stuffers with votive candles.


I also had to add a simple Birthday card using spice cake dsp. I adore this paper!!! I used out wonder hostess set for the birthday greeting.


Tuesday, July 5, 2011

6x6 kids scrapbooking class


I recently taught a fun kids scrapbooking workshop using the now retired play date line. Each child went home with a 6x6 ring bound album and 24 pages ready for them to add their own photos and stickers from the sticker pack. Everyone had a wonderful time!

Here are a few of my favorite pages.


If you are a demonstrator and would like to teach my class or if you would like to order the class instructions and see all the pages, please contact me.

Tuesday, June 14, 2011

Punch Art Class Animals


It's punch art time!! I adore animals, so I had a wonderful time coming up with a lion, monkey, and penguin! These would be great embellishments for a zoo page!

Class is going to be tonight, and again next week. But if you are not local, order the tutorial for $3 or a tutorial and punched shape kit for $6.

Saturday, May 28, 2011

My Digital Studio 30% off Starter Kit Special till May 31st

If you have been following my blog for awhile, you know I love Digital Scrapbooking.  It is fantastic, and if you have not tried My Digital Studio, you are missing out on a truly wonderful program.  I just finished making a hybrid Wedding invitation Suite for my wonderful niece, and I so enjoyed using MDS.  I took a slightly different approach given my design background and did the layout of the invite in a different program, then imported an image of my design as a stamp.  That way I was able to change the color properly so that when I printed it, I could mount it on Cardstock that would match perfectly.  I am on pins and needles waiting for the printed pages to come in.  I made a 6x6 invite, which means I was able to print 4 per 12x12 page, and I lucked out given that this month we had a special printing discount!  3 days left on that 30% off single sheets!  What a savings when you print out many pages.

But I digress, the point of this post is to let you know about the incredible deal on the My Digital Studio Starter Kit.This month only is is available for $122.50-normally $175, and worth over $300.  The full software alone runs for $80 so for only a little bit more money, you get a lot more product!  I love sales!

The Digital+ Starter Kit includes
  • My Digital Studio software suite
  • Three complete stamp sets (including a clear-mount set and clear-mount block)
  • Assortment of card stock
  • Four Classic Stampin' Pads
  • Two Stampin' Write markers
  • Real Red 1/4" grosgrain ribbon
  • Brights Designer buttons
  • Songbird Décor Elements and applicator
  • Adhesives
  • Stampin' Scrub and Mist 
  • Box of Idea Book & Catalogs
  • Business forms and tools 
For anyone who would like to sign up and take advantage of this incredible offer, I will also include, from me personally not SU, $20 of digital downloads of your choice for your new incredible software.  You can sign up on my website, or email me and and I will help you sign up online. 

Wednesday, February 23, 2011

Non MDS File Installation Tutorial


I know My Digital Studio isn't the only digital scrapbooking software out there, and I know that theoretically we are compatible with other files, but to date, I have not experimented with that.  So  I went looking for a Girl Scout themed Digital Scrapbook paper and embellishments.  I  wanted to test out and see how tricky the installation process was to do to help guide anyone importing existing files into MDS. Plus, I have 2 girl scouts in my house and I have been taking a bunch of pictures at their events so I hoped to find the troop numbers we use somewhere. 

So here goes.  I  found a really cute kit page on Scrapmatters.com.  I purchased it and downloaded the 5 files.  Then I did a quick google search for instructions. Once I knew what I was doing, I got started.

On a Mac- this is what you do.  Find your application folder, and got to My Digital Studio.


It should look a little like this with 3 main folders.  Open the Components Folder
To install your items, you will be working from this point on.  Paper will go in Backgrounds, Embellishments, in their folder, and so forth. So, start with paper


Go to the Designer Series Paper Folder>Designer Kits and create a new folder for your new download.  Unzip the file you have downloaded, and open the new folder you just downloaded.  Drag the new files into the new MDS folder.   Repeat for any other papers you need to install.

Repeat the same sequence when you install the other files just be sure to find the proper folder.  Embellishments need their folder, and I gave them a new folder under the main embellishments folder instead of in Designer Kits as I did for the paper.  I did find that an "alpha" I had downloaded in my kit needed to be placed in the embellishments folder not the stamp folder.  It did not display properly as a stamp.  I changed it over while the software was running, but in order to view the new placement, I had to quit and restart the software.  After that is worked perfectly.

Monday, February 7, 2011

Scrapbooking- Month at a Time

While I no longer remember how I found Debbie Hodge, but I want to share a great scrapbooking resource I found popping up on Facebook.  I know at some point in the last week, I liked her blog, but I must be having a senior moment, because that liking moment is gone from the data banks! Anyway....she is doing a great challenge this year, and doing 1 month at a time.  I love this idea because it means you will always stay current for the year, and at the end in Jan 2012, you can go get your book printed, if you are working digitally, or you can start all over again if working traditionally.

So... here is her challenge page on her blog,  but she also has some incredible design ideas and resources that are worth browsing around on her site.  I will be playing with a few of her sketches tonight as I work on January 2011.

This image is actually from December and I have scrapbooked it already, but in a  different format.  I decided I really do want to stick with 12x12 for Family scrapbooking.  I love to use lots of pictures, and that really gives me plenty of space!  I experimented with one of her sketches for a 2 page spread.  I am pretty pleased with what I was able to create last night.  My title is a little hard to read though, gotta work on that.  At any rate, I love the Duplicate mirrored feature in My Digital Studio.  It made the creating process easier for me!!

Thursday, January 27, 2011

Digital Scrapbooking

I have a friend who is going through a bit of a crisis right now, and she asked her friends who had pictures of her daughter to help her out and create some 8.5x11 scrapbook pages to help her get caught up.  So I pulled out my trusty sidekick, My Digital Studio, and went to town.  Our daughters had attended preschool together, and I went to most all of the fieldtrip, so I had a good deal of material to work with.  I was able to create 9 pages for her.  I am excited to get them back from the printers.  I have only created bound albums before, so single sheets will be fun to see!

Here area few of my favorite pages.


Wednesday, January 12, 2011

Late Night Stampers Challenge 103 Brrr


This challenge at LateNightStampers was focused on things that make you say Brrrr!  Since we have  had a shocking amount of snow lately, I chose to do a scrapbook page of our last snow storm.  The snow storm thoughtfully came while the kids were on winter break, and everyone loved it!  The city basically shut down for 2 days while people waited for the road crews to dig us all out!  So fun to be snug inside drinking cocoa, watching movies, then diving into snow drifts!

So I created this in My Digital Studio, using the Candy Cane Lane Paper, and A Cute Christmas mittens stamp.  I added as embellishments a snowflake punch, a round Baja Breeze button and a silver brad.  I also added a grosgrain ribbon as well peaking out underneath the designer series paper.  I would love to color in the stamped mittens, but I loved resizing them to fit the space I needed perfectly!

Friday, September 10, 2010

Squash Book Class

I recent taught a squash scrapbook to my Stamp club.  I kept forgetting to take picures of the project and post it.  but I finally grabbed a few quick pics.  I found this idea online in a few different places, but first saw one of these at meeting with my upline.  I was so impressed by her's that I had to make one of my own.  You need coasters, designer series paper, cardstock, and a glue stick.  You will also need photos, and a good ruler!

I'm not going to give the step by step directions today, but I'll have a Holiday Squash book class coming up in November you won't want to miss! There are great instructions on splitcoaststampers though!  Although I don't like using sticky strip, and I used glue stick instead.  it is more forgiving and gives you a better chance at a perfect placement.

This scrapbook makes a great gift for the holidays or is a perfect mini book for the office!


Thursday, September 9, 2010

Diva's Coffee Break Challenge #193 Scrapbook Page

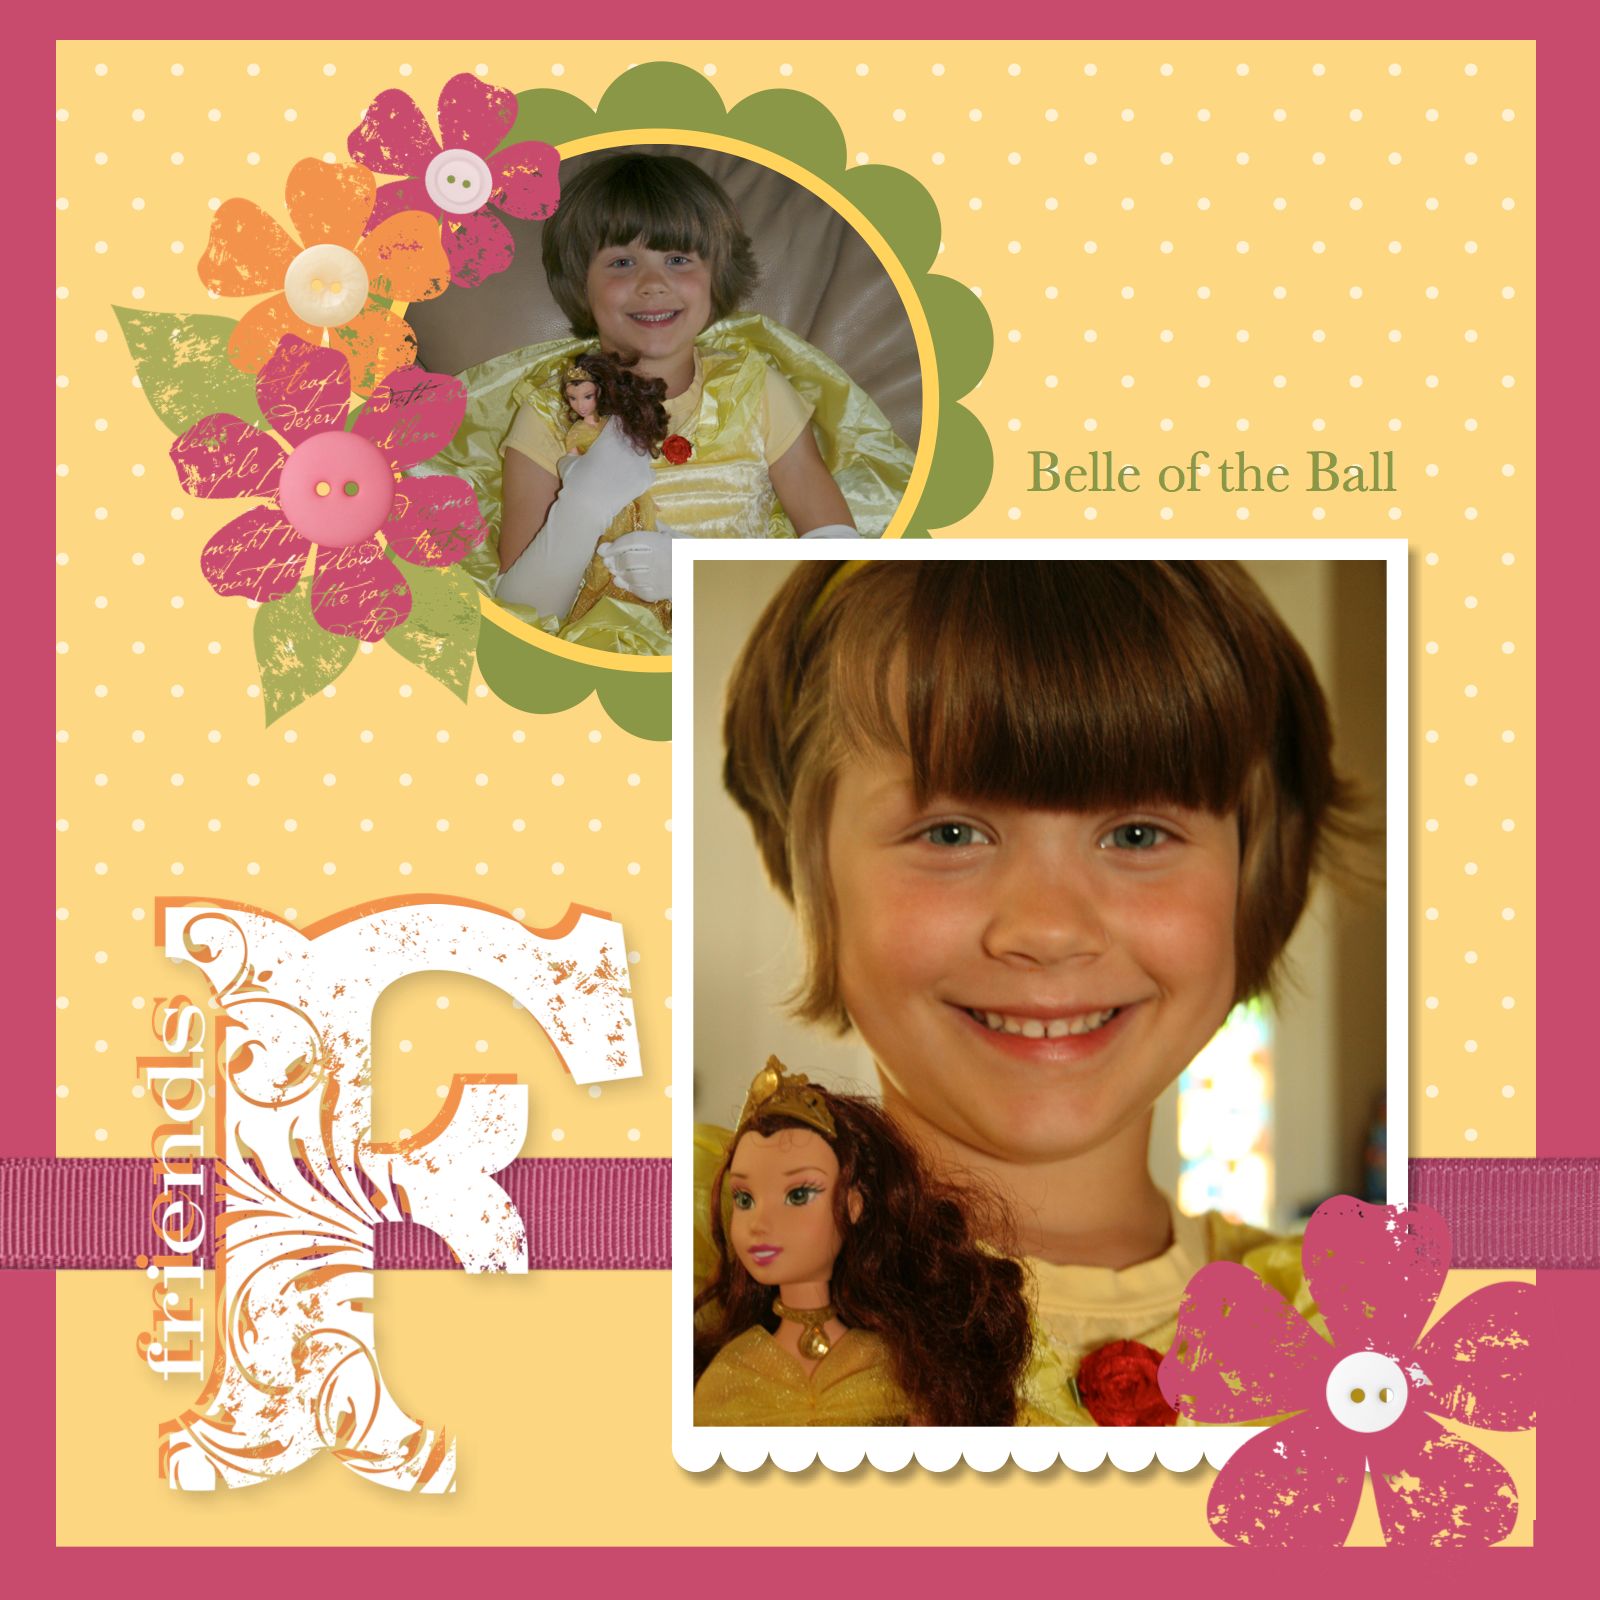
I decided to do a two in one special on this page.  I combined the Diva's Coffee Break Challenge with the Stampin' Up! Disney challenge to create this page about my daughter's love for the Disney princess Belle.  She and her sister each claimed a princess for their own, and Emily just loved Belle!

Emily has never been into dress up as much, but once her little sister got interested, Emily followed along.  I bought princess patterns when she was a toddler, but due to her texture issues, never made a costume for her.  I found this super soft costume on ebay.  She still more a shirt under it to protect her skin, but I was honestly just so pleased she was doing one of my favorite activities from my childhood.  I got such a kit out of how serious she was about matching her doll as best she could.  It's hard with short hair though!

I designed this page using the ever wonderful My Digital Studio.  My Colors were So Saffron, Rose Red,  Peach Parfait, Pear Pizzaz and a splash of Old Olive.  I used my Very Vintage digital stamp set, which is still one of my all time favorite sets.  I wish the wheel could be made digitally!  How fun would that be!


Thursday, May 27, 2010

Scrapbook Photo Purse Class


Thank you for the inspiration for this from this fantastic blog! This is a great gift idea as well as a fun new idea for carrying your photos of your family around.

It needs lots of pieces but overall is a simple concept. Two envelopes (Medium Whisper White Envelopes #107301) make the purse. I used Kraft cardstock scored in the middle to make the connecting hinge between the two envelopes. I used two pieces of DS paper with a notch cut out with a 1 1/4" circle punch to allow souvenirs inside the envelope. I placed pictures on the inside with stamped images & flowers cut out from So Saffron, Rose Red, Pumpkin Pie cardstock. I also used the Bigz die for flower which were lightly distressed and sponged. On the front, ds paper, a top note die stamped and scored made the flap. I used jumbo grommets and grosgrain ribbon as a handle. The front also had a flower and corduroy button held on with a pop up glue dot.

Supplies- Summer Mini & Idea Book & Catalog
Tropical Party Stamp set #120081
Island Floral Bigz Die #118871
Island Oasis Designer Series Paper # 117173
Various cardstocks & Inks, So Saffron, Rose Red, Old Olive, Whisper White, Pumpkin Pie, Tempting Turquoise.
VersaMark
Top Note Die #113463
Crop-o-Dile
Accessories-adhesives, sticky strip, crystal effects, glue dots, dimensionals, markers, blender pen, ribbon, corduroy button, circle punch.

I taught this at my monthly stamp club. If you would like to make this project, contact me to set up your workshop time, or to order a kit.

Friday, April 30, 2010

My Digital Studio Scrapbook Sample Pages


This is my second full scrapbook using My Digital Studio, every time I use this program I fall more & more in love with it! I have been making blog banners, cards, and other fun quick projects, but last Sunday I decided to just Do it and start my 2009 album. I have been dragging my feet, but once i just got started I have not been able to stop! I have created 15 pages in 5 days:) Luckily for me I also have a family blog, so I was able to read some of my blog posts and help the journaling (my scrapbooking downfall) along that way.
Here are 4 pages from my album. I have gotten up to the end of May, so 7 more months to go. I hope to have it finished by the end of next week. Then I am going to order 3 copies, 1 for me, and 1 for each set of grandparents! Happy Mother's Day! It might be late, but I think they will love it anyway. I would never have the patience to duplicate 3 books by hand. Plus I love my undo button!

Come talk to me about a intro lesson on MDS. See what you can make with minimal computer skills needed!

If you are want to finish your scrapbook, but don't have the time, contact me and I will design one for you! Costs vary on length of the scrapbook. 5 sizes available.

Monday, June 1, 2009

Kindergarten Field Trip


This page was designed using a page map from the Stampin Success magazine.  The original layout was designed for an 8x8 album.  I transformed it into a 12x12 to fit my album.  I wanted to use some of my Washington Apple paper and Pumpkin Pie Designer Series Paper to make the orange t shirts in the pictures really pop. I also used Bashful Blue, Whisper White,  and Riding Hood Red cardstock which coordinate with Washington Apple.

 I used the Celebrate Everything stamp set and the Darling Dots Hostess Set which had a flower that coordinated perfectly with the Washington Apple DS Paper. I stamped off with Bashful blue to create the background for my title.  Then I used my Stamp-a-ma-jig to position my title perfectly.  I used my Spiral punch on the 5x7 piece of Bashful Blue cardstock to create a perfect space for Journaling (which I added in later with my bashful Blue marker).  At the bottom of the piece I stamped my flower twice, once on whisper white which I punched, and another time on a scrap which I cut out and popped on top of the first.  I took that circle and layered it with a punched circle of Riding Hood Red and a Pumpkin Pie DS scallop.

The layout originally called for ribbon and had a little clip.  Instead I used two small strips of Pumpkin Pie to stand in for the ribbon and a Riding Hood Red button from the Button Bouquet. 

For my workshop I create the layout in a totally different color pallette. The second time I used theWalk in the Park designer Series paper, So Saffron, and  Old Olive. This time I used my Chocolate Chip ribbon as an embellishment on the bottom of my journaling block. I used Celebrate Everything again, but used my Great Friend set.

Tuesday, April 28, 2009

Summer Fun


This scrapbook page uses Washington Apple Designer Series Paper, Kraft Cardstock, Bashful Blue Cardstock, Real Red Card stock, Die Cut Blooms, the Big Shot Billboard Alphabet die, the Birds and blooms die, the Dotted Jumbo wheel, the Life's a Breeze Stamp set. I used Real Red, Pumpkin Pie and Bashful Blue classic ink pads as well.

I wanted to create a fun bright summery layout on my 12x12 page using squares. I had some images I took at the beach, and knew they would be perfect for my Washington Apple Designer Series Paper. My girls had blue and orange pails & shovels, and a blue swim suit. I cut a strip of paper for my title, and placed my letters which I had run through my Big Shot. I had to run it through 2 times to get the 2 U's and the M's, but I love being able to pick which letters I need and place them down.

I cropped my pictures to 4x4 and my large strip of Washington apple to 12x4.25. I wanted a tiny strip of sqaure color to peep out. On the bottom I cut a piece of Bashful blue to 8x4. Then I ran my Jumbo wheel over that to give myself a good journaling place. I built up my flowers using the Die cut blooms, and made some leaves using a scrap of Old Olive and the Bids and Blooms die with leaves on it. I curled the edges lightly with my fingernail and creased the leaves to give the flowers some more interest.

I tried a new technique with VersaMark and wax paper on the bottom of the Kraft paper to give it some texture. By crumpling the wax paper and stamping randomly I got a great abstract look that could be built up as lightly or as heavily as I wanted. This could be used to look like faux leather too depending on how tightly I crumpled my paper.

At this point I knew the page needed a little bit more interest, so I stamped out flip flops and a pail from the Life's A Breeze set and trimmed them out. I also stamped "sun fun" on the bottom of my journaling block in Bashful Blue.

I could have changed up the design by adding another photo if I had less journaling or more images to use. Also by changing the stamp set and paper, I could easily change this from a beach look into any other type of page. That is one thing I absolutely love about Kraft cardstock. It works with any color and can be extremely versatile to tie in the stamps sets and pages in an album.

Saturday, April 18, 2009

Scrapbooking with Rub-Ons


I wanted to create a simple page using my Fall-Winter 08 Hostess Level 3 Rub-ons. I had some pictures I took at Thanksgiving to do. Riding Hood Red Cardstock matched the red in my top picture wonderfully and helped it really pop off the page as well as linking the two images together, so I used that as my mat for my image. By extending the edge of the image, I created a space for some journaling. I used my ruler and pencil and then wrote the journaling using my Always Artichoke marker. I also love Kraft as my scrapbooking background. It is so versatile and can go in any color direction. The Bella Rose designer series paper on the edge give another element to the page.

I took my big shot and ran two pieces through using the Top Note die. I trimmed the perforated edge of the Whisper White piece to use that as my title. I took my rub-ons and applied them to title block, and the bottom right corner.

Simply Scrappin' Kit


I have a 7 month old little boy and have been trying to keep up with scrapbooking his life. I also have 2 other kiddos, so I don't have tons of time. In order to simplify my life, I got the Simply Scrappin' Kit for baby boys (Rock-a-Bye Boys). I absolutely love it! This is a simple page that I did last night using the paper from the kits and a few of the stickers. There is a stamp set that matches the kit, Nursery Necessities, which I will be getting just so that I can stamp on my pages as well and have it coordinate with my kit. I love the colors and variety in the kit as well as the ease of use. I have done about 5 pages using the kit and I still have plenty of material left to do a several more pages!

To design this page, I had several pictures from a photo shoot. I really loved all of them, so I cropped them into squares, mounted them on a larger Square of Whisper White, then added a square embellishment from my kit in the center of my image block. I mounted that on my designer series paper, added my little boat sticker and some stars and a little bit of journaling under the images. Simple to do, but effective!
Related Posts with Thumbnails