Showing posts with label occasions Mini Catalog. Show all posts

Thursday, April 21, 2011

Creative Sketches Week 3

This week at Creative-Sketches.com, I was working with this layout below from our Design Team Lead.  I really wanted to go with a clean simple project, and I was excited that this layout will allow me to use minimal layers, and just pare it down to basics, but still create a lovely card to send to a friend. To make my life a little more fun, I took some color inspiration from the lovely Inkspirations-challenges Blog.  I look forward to their color challenges as the encourage me to mix up some colors I otherwise would never match myself. Regal Rose and Sahara Sand poor things, almost never get used at my house!


Our Technique challenge this week was Using Chalks or Pastels on your card.  I have done several different cards using chalks, and took a different approach this week.  I wanted to use my pastels very simply, trying to make this more of a minimal card.  I stamped my background image in Versamark, then popped chalk to highlight just a few flowers.  I also added some turquoise chalk to my eggs in the basket.  Both are fairly subtly and easy to add simply with the little wands that come in the Stampin Up pastel kit, or with a cotton swab. 


I hope you can visit Creative-Sketches.com to try your hand at either the Layout or Chalks Technique!  Can't wait to see what you make!


Add caption

Thursday, April 7, 2011

Strength and Hope Campaign


Stampin Up! just released a wonderful stamp set which will be not only beautiful, but proceeds from purchase will go towards Breast Cancer research.  I got my set just yesterday in the mail, and I was thrilled to be able to make my first card with it.

This was based on the Creative-Sketches.com layout challenge. I used my wonderful Designer Series paper in the Occasions Catalog, Presto Patterns DSP,  as well as the adorable rosebud buttons!  My palette was Baja Breeze, Blushing Bride, Early Espresso, and Crumb Cake. I'd love to see what you can make with this layout at Creative-Sketches.com, so go over and post your entries!

Wednesday, March 9, 2011

Mosaic Tile Card


I got to help my newest downline with her first workshop and together we designed this adorable card.  We used the new Clearly for You set (#121911 W or #121976 C) from the Occasions Mini catalog.  I love that the 1 1/4" square punch fits the large background stamp.  We punched 9 squares and layered them onto daffodil delight, and whisper white.  The whisper white piece will be the card body and opens from the bottom.  The basic black piece is difficult to write on, so this way, we get the look we want, and don't need an extra piece for the inside. 

We also used the scallop punch to create a wonderful distressed flower.  Punch two scallops and distress and crumple repeatedly until the edges seperate.  Pull apart and layer with fuzzy edges facing up.  I wanted to use a Black button for the center, but since I didn't have any, I stamped the background stamp again with VersaMark, and heat embossed it with clear embossing powder.  Unfortunately this picture did not show the wonderful shimmer.  After it had cooled, I punched it out using the 1/2" punch. I also used the Two Step Bird punch for the leaves on the card.

I just posted this to a new sketch challenge site I found out about - Try Stampin' on Tuesday.  Fingers crossed!

Thursday, February 24, 2011

Creative Sketches Week 4 Challenge

So our sketch this week at creative-sketches.com uses a triangle layout which is not something I normally do. I really enjoyed pushing triangles around trying to get the right look.
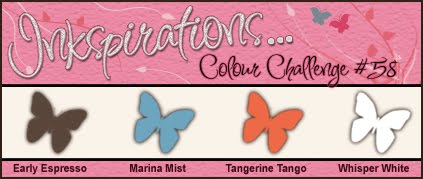
I have not done anything with my Eat Chocolate set in a few weeks, so I wanted to test it out along with the color challenge this week on Inkspirations-Challenges.blogspot.com.


The colors are Early Espresso, Marina Mist, Tangerine Tango, and Whisper White. I think it makes a great manly color combination, and I am going to try it again with another stamp set.  My to do list portion can be pulled out like a tag.  I made that work by running my adhesive around where I planned the tag to go, but not all over.  texture from the Square Lattice Big Shot made me need a bit more adhesive, but definitely stepped up the look of the card. I also really like my 1/8" Early Espresso ribbon.

So what can you create with the layout?  Come on over and submit your link.

Thursday, February 17, 2011

Valentines MDS Style

I have two school age girls, and both girls are in Girl Scouts, which meant we were looking at over 70 valentines that needed to be made.  Shockingly enough I left it until the last minute. My Digital Studio was able to help me out!  I created a 6x6 card, then shrunk everything down and placed 12 on a page. I mounted those 2.625" squares on a 3x3 piece of cardstock, which got adhered to candy and a pencil.  The concept was lollipop, but it became more of a flag:)  I'll choose different candy next time.  I also used some leftover candy cane fabric to make an adorable little flower from my Island floral Die.  Not only did it make a great accessory for the bag, it is actually a hair clip for her teacher.  My daughter said she wore it the rest of the day!  Yeah!


Tuesday, January 25, 2011

New My Digital Studio Downloads and MDS Card

I just went online and downloaded about 8 new brush sets, embellishments, and papers for My Digital Studio.  I had to take a stab at a Digital card before going to bed. I love the new Springtime Vintage paper, but mine has not arrived yet, so the instant download is really fun.  I didn't get to download the Baby Blossom Stamp set, since it isn't available yet, but I think Simple Friendship works really well with the paper I have chosen. 

My upcoming class on My Digital Studio will cover my tutorial, making a card and scrapbook page, as well as creating a hybrid card using the tutorial card.  I absolutely love digital crafting!!!  There is never any mess to clean up, and I never run out of supplies!

Saturday, January 22, 2011

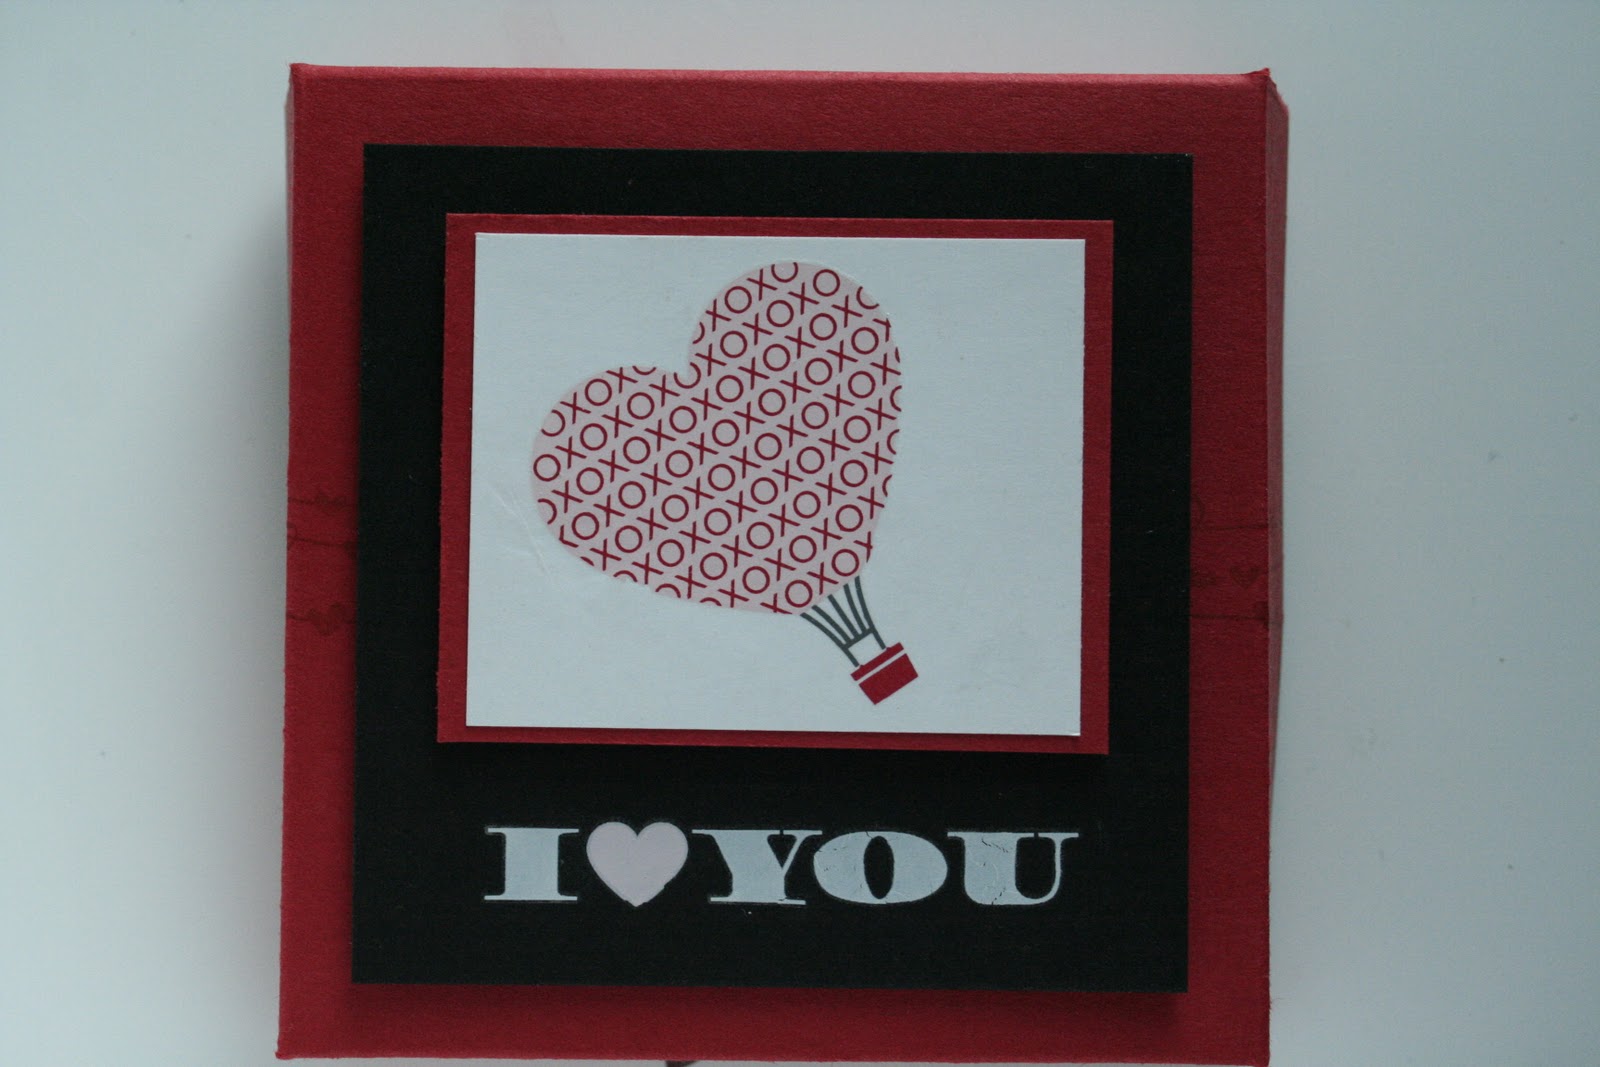
3x3 Pizza Box - Free Template


This adorable little box is made from a half sheet of cardstock, scored, folded, decorated, assembled, then finally glued! I used Valentine defined again from the Occasion Mini Catalog.  This little box will be part of my Love Sweet Love Class, which will be available as an online class/kit for purchase. I will send you all the supplies and instructions to make the 2 cards and the pizza box for $8 (Includes shipping).  I'll have a list of additional supplies which can be purchased though my website.  (stamps et, blocks, ink, etc)

I do love my heart punches, and had to bring back the coordinating stamp from my Love you Much set.  My next project is going to dust of the entire set and bring back my favorite little mouse, but in the mean time, it fits perfectly in my punch! 

I still say when in doubt, labels make the best Nugget wrappers.  Designer Series paper is always adorable, but in a hurry, stamp and wrap!  I made a simple divider to keep the chocolate in place, but when you are done, the box can be reused to hold your 3x3 note cards.

I have included the template to make this little guy, but you can also watch an awesome video by fellow Demonstrator Mike Funke, and he also has a handy mathematical formula for figuring out how to make the box at any size. (On a side note, I met him last year at Convention -.  Really great guy, and always fun to meet a guy demonstrator!)

I made a second box last night using a set of Free Rub Ons that Stampin Up gave all the demonstrators. With that box I included a set of 3 note cards.
I love the Red tree with the Crystal Effect Hearts.  I think it really makes the card pop!

If you would like to order a box & set of cards for yourself, it is also $8 plus shipping.

This template has instruction for a 3x3 box.  Check out Mike's blog to get the formula to enlarge the box.  Happy Stamping! I also have submitted it to the handstampedsentiments blog challenge.

Valentine Defined!

I really love this set, but I had a harder time using the tree stamp.  I was browsing around on StampinConnection.com, which is a really awesome online community for Stampin Up! demonstrators, and saw some wonderful cards. With that inspiration, I made this card.  I stamped the background and ran it into my Big Shot embossing folder.  I love how I was able to create a great looking background without buying more paper for this card, not that I don't love Designer Paper, but sometimes is isn't in the budget!
I inked the tree with my lighter Pretty in Pink ink pad, and colored with my Chocolate Chip marker on the trunk. I could have hit a few of the hearts with Melon Mambo or Rose Red, but I was in a hurry!
I repeated the process with my Love stamp, only this time it was all done in markers since the area was quite small. I stamped and punch with my Small and Large Oval punches. I stamped another heart, dazzled it up and popped it with Dimensionals.  To finish off the card, I added a fine line of two way glue and sprinkled on Dazzling Diamonds.  I think next time I will use Crystal Effects for the Glue.  It will dry slower, but I would have made less mess using that glue I think. 

Thursday, January 20, 2011

Creative Sketches Technique Week


So this week we were using punches at Creative-Sketches.com.  I had planned to do a punch art card, but my inspiration just wasn't there.  I'll keep trying!  So instead I got out my new favorite stamp set, Sew Suite, from the Stampin Up! Occasions Mini Catalog and went to town with my punches.

I used my 1 1/4" square punch to make a Designer Series Paper quilt.  (I even went the extra mile and sewed it down!)  Then I stamped buttons out from the Button, Button Stamp set, which nicely fit into our 1" and 1/2" circle punches.  I finished of with my 2 3/8" scallop punch which went behind what could be a 2" circle punch but was actually cut from my Circle #2 Big Shot die.   So there you have it, punches galore on this card!  4 in all on one card. So what can you make with your punches?  Post your card at Creative-Sketches.com to play along.


This card was also designed using the layout from Mojo Monday.  I skipped the bow and used the tape measure instead for this card. 


Saturday, January 15, 2011

Valentine Defined


This is my second card using this stamp set, Valentine Defined.  I really love these little flamingos!  I saw a card made by Mary Fish on her site Stampin Pretty, and wanted to try the ribbon technique on her card.  I ran my ribbon through my sewing machine on the loosest stitch, and then pulled gently on one string to gather up the ribbon.  Just for fun, I also ran around the edge of my card with the sewing machine.

Supplies:
Valentine Defined #123057(clear)
Small Oval Punch
Cherry Cobbler Ink
Whisper White, Basic Black, and Cherry Cobbler cardstocks
Whisper White Sating Ribbon

(adhesive, paper snips, and a sewing machine)

Friday, January 14, 2011

Valentine Defined

I just love this new set in the Stampin Up! Occasions Mini Catalog.  To create this fun Valentines Card, you need Valentine Defined. I am a sucker for our definitions stamps sets like Define Your Life, so when I saw this one, I had to have it.  I used it once today creating a card for Stamp Club, but this card is for my Love Sweet Love Class next week.  

Creating the card was straight forward.  I did a zigzag of the hearts on a string to create my background, stamped my other pieces and assembled.  I also stamped my heart punches to give them a little texture. Fun and easy!

Supplies Used:
Punches-1 1/4, 1 3/8 circle, Heart to Heart, and Scallop Edge
Real Red Cardstock, Whisper White Cardstock, Cherry Cobbler Cardstock, Basic Black Cardstock
Basic Black 1/8" Taffeta ribbon
Basic Black and Real Red Classic Ink

Thursday, January 13, 2011

Clean and Simple - Punch Bunch

I was preparing for my Stamp Club and wanted to try some clean and simple stamping.  I used the new Sale-Bration set Punch Bunch, which I absolutely love!!   I really like this minimal look, so give it a try at home, or come to club and try it out with me.

This fun card was made by running my Poppy Parade cardstock, throught my trusty Big Shot and my with my Elegant Bouquet embossing folder.  Then Iinked my stamp and used my blender pen to remove some ink to color my stamp with Old Olive and soft Suede.  I punched out my center, then the scallop and placed the scallop base down on the card, then popped the center.  I also stamped the scallop on the inside just for fun.  Simple, easy basic stamping.  It just look awesome when you are done!


My second card is a fun non traditional "love" color palette, but could be given to a guy!  Masculine cards always seem a little harder to me.  My husband is not into ribbons, lace, glitter, or bling.  Silly man!  I used Pear Pizzaz, Temping Turquoise, and Chocolate Chip.  I stamped and punch the owl, then stamped the hearts and popped Mr. Owl on the heart string. Then I added my little Love you in chocolate chip. I layered it all up on Chocolate Chip, Pear Pizzazz, then Confetti White as the base.

Monday, January 3, 2011

Mojo Monday 172 - Eat Chocolate Stamp Set

It's a new year, and there are more Design Challenges to enter!  I really enjoy the Mojo Monday one, and it is a always exciting when I can get to it on a Monday!


This layout is really not something I normally do in my own work, so it was stretch for me.  But I love my new set Eat Chocolate from the new Stampin Up Occasions Mini catalog, and I knew it would be perfect for this layout. Picking a good color combination was hard since I knew I wanted a lot of browns, but I went with Chocolate Chip, Crumb Cake, Pretty in Pink, and Ridinghood Red. I love my Big Shot Embossing folders, and the square lattice one gave me some fun texture that almost mimics a cork board to hang my to do list.  I used my spiral border punch and love the fun note pad feeling that gives!  And any good notepad is a little distressed, so crumpling and sponging worked for me there. My Jumbo Brad felt like a giant push pin too!  Love those little guys!

I didn't use actual brads as indicated by the layouts since my stamp had the 3 square check boxes. I think that works just as well in this case! I also inked only the saying at the bottom of the stamp to use as my highlighted rectangle strip.

Tuesday, December 28, 2010

Just Add Ink #48 Layout Challenge


I did this layout challenge from Just-Add-Ink with the new Occasions Mini Bring on the Cake stamp set. I love Early Espresso and Melon Mambo together.  I used a small piece of the Sew Suite Designer Series Paper as well.

I flipped this layout and did it horizontally since it worked better for my stamp.  I used my trusty circle punch to create the jumbo scallop. The trickiest part had to be lining up the individual punches properly.  In retrospect I can think of a few other ways I could have done it to make it work a little better.

Thursday, December 16, 2010

Sneak Peek New Occasions Mini Catalog


I just got my box of goodies from Stampin Up! on Tuesday, and I finally had time to sit down and do a little stamping.  I am so excited about the upcoming Mini Catalog! It is available for Customer orders starting January 4th!  What a wonderful new bunch of goodies!  If you don't have your mini catalog yet or you are not on my mailing list, please email me and I will put on in your hands.  In the mean time, here is my first teaser.  If you don't know, I love to sew, so this set called Sew Suite really spoke to me!  Especially with all the coordinating goodies like the designer paper and the Button Button stamp set! For the saying, I used the Word Play Stamp set from the Idea Book and Catalog.  I really love all the different sentiments in that one stamp set!

I decided to test out my goodies using the Mojo Monday Challenge of the week.  The layout was perfect for this set!  Totally worth the wait and the tidying up I had to do before I could stamp! Look forward to my next sneak peek and come back soon!

Related Posts with Thumbnails